
The Wireless Radiator Valves (DA-WRV-E) easily replace most existing TRVs, so each room can be scheduled independently without any plumbing work.
Before you start
-
The Genius Hub must have the Communications Adapter installed to work with Wireless Radiator Valves (DA-WRV-E). See Chapter 1: Installing the Genius Hub.
-
The signal for Wireless Radiator Valves (DA-WRV-E) is only relayed by the dual-band Smart Plug (PH-PLG-E), not by Range Extenders or other mains devices. See Chapter 7: Installing the Smart Plugs.
Valve orientation
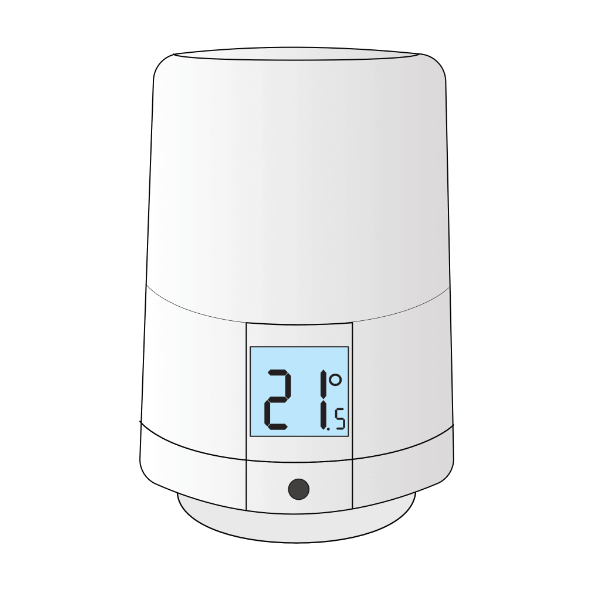
The orientation of the Wireless Radiator Valve (DA-WRV-E) is very important. In the UK, the standard and most common orientation is vertical, at the bottom of the radiator. In this orientation, the part you turn to adjust the temperature is at the top of the valve, and the button with a dot on it is below the screen.
If a Wireless Radiator Valve is installed horizontally (or upside down under a radiator), it will under-read the room temperature, because it compensates for heat from the pipework and radiator when it should not. This can cause the room to overheat.
For any valve that is not fitted vertically, set its orientation in the app after installation:
-
From the My House page, click on the Main Menu, then Settings.
-
Select Devices.
-
Select the Wireless Radiator Valve.
-
Set the 'Valve orientation' toggle to 'Horizontal'.
Mounting the valve
Each valve comes with two adapters, to fit either an M30 x 1.5mm thread (the UK standard, which fits most brands of TRV) or a Danfoss RA fitting (the adapter with the grub screw).
To mount the Wireless Radiator Valve:
-
Remove the existing TRV head from the radiator. This is the part that turns, normally numbered 1–5. Usually you will need to loosen a nut between the TRV head and the valve body (the part the water flows through).
-
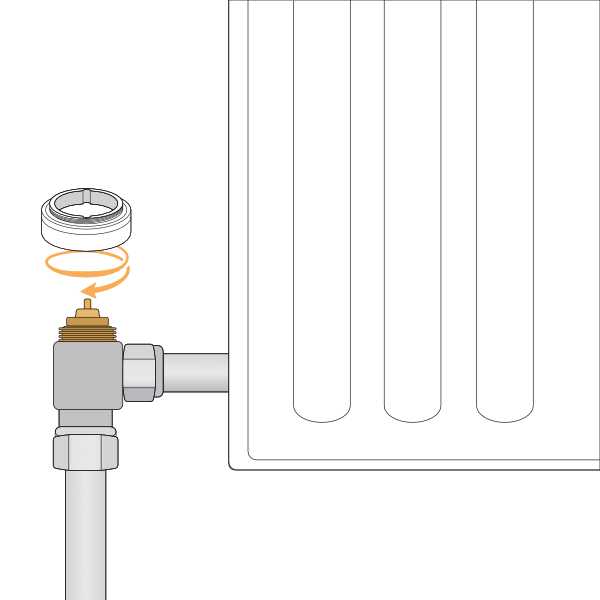
Fit the correct adapter to the valve body on the radiator:
-
M30 x 1.5mm adapter: screw the adapter down onto the valve body.
-
Danfoss RA adapter: fit the adapter onto the valve body and tighten the grub screw using a 2mm hex (Allen) key.
The image below shows the M30 adapter being fitted.
-
-
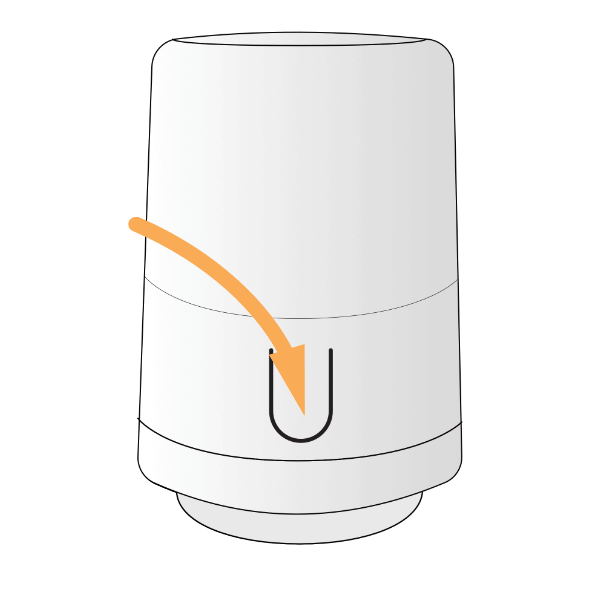
Remove the battery cover by pressing the tab at the back of the valve, then pull the cover up and away from the valve.
-
Insert 2 x AA batteries. A temperature should appear on the screen.
-
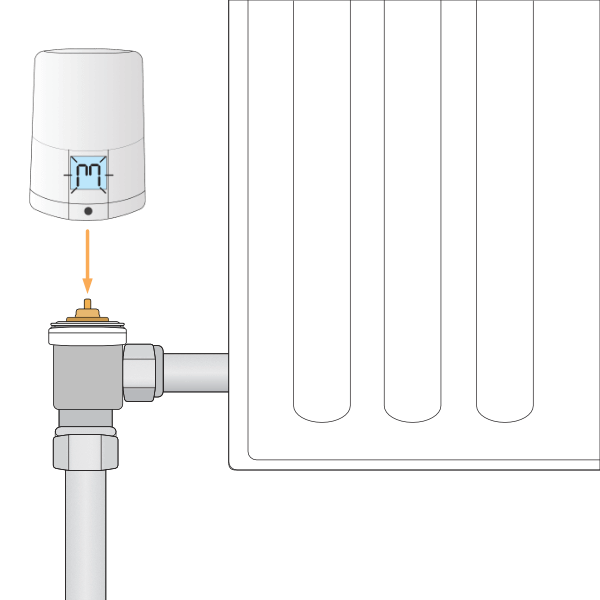
Press and hold the button for 3 seconds until an 'M' appears on the screen. The 'M' will flash, the valve will buzz and the plunger on the underside of the valve will retract. The valve is now in Mount Mode.
-
Screw the valve down onto the adapter.
-
Press and hold the button for 3 seconds until the valve buzzes and a temperature appears on the screen. This takes the valve out of Mount Mode.
-
The valve must be in Mount Mode when it is being fitted to the radiator.
-
If you are using the Danfoss RA adapter, make sure the grub screw is very tight. The adapter can work loose over time, which stops the valve shutting off the flow of water, so the radiator heats up when it should be off.
-
To get the valve as tight as possible on the valve body, remove the cover to reach the inner button (beneath the button you press through the cover). Pressing this inner button firmly while tightening the valve onto the radiator lets you get it tighter, reducing the chance of the valve not controlling the radiator properly.
-
When you press a button on the valve, the screen can sometimes take up to 30 seconds to respond. This is normal: the valve may be communicating with the Genius Hub at the time.
After installation: valve learning
The Wireless Radiator Valve learns the characteristics of the radiator and room during the first couple of weeks of heating after installation, so it may be slow to heat up during this time. For more information, see: www.geniushub.co.uk/valve-slow
Pressing any button on the valve, or turning the case, while it is trying to warm the room stops the learning for that heating cycle. The valve will try to learn again the next time it is called to heat the room.
Putting a valve into Mount Mode again restarts the learning process.