
Smart Plugs have 2 purposes. They can be controlled from the app to switch whatever is plugged into them on a schedule, and they boost the wireless signal around the property, improving the reliability of the system and the battery life of other devices.
There are 2 Smart Plug models:
-
Smart Plug (PH-PLG-D) – single-band (Z-Wave).
-
Smart Plug (PH-PLG-E) – dual-band (Z-Wave and Zigbee).
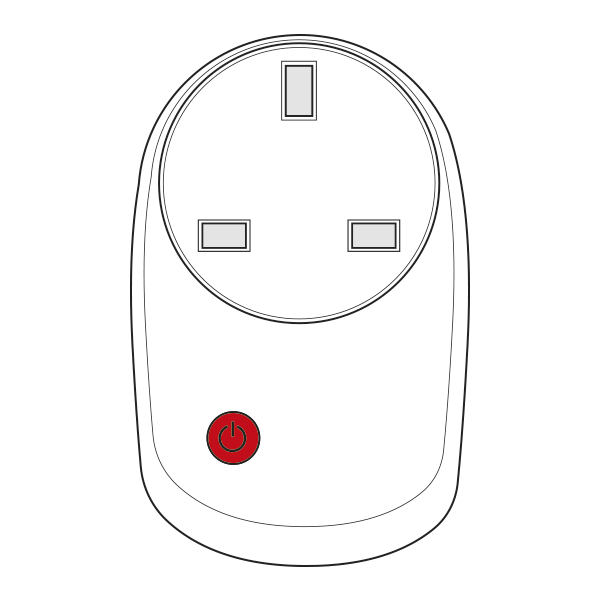
To install a Smart Plug, plug it into a wall socket, then plug the device you want to control into the Smart Plug.
Using Smart Plugs to boost the signal
Genius devices use 2 wireless networks, and each is relayed by different devices:
-
Z-Wave (868MHz_ devices (such as Room Sensors, Wireless Room Thermostats and Genius Radiator Valves DA-WRV-A/B/C) are relayed by mains-powered devices: Electric Switches, Powered Room Thermostats, Electric Relays (Range Extenders), receiver units and both Smart Plug models.
-
Wireless Radiator Valves (DA-WRV-E) use Zigbee (2.4GHz_ and are only relayed by the dual-band Smart Plug (PH-PLG-E). If the system has DA-WRV-E valves, spread dual-band Smart Plugs throughout the property between the Genius Hub and the valves. Range Extenders and other mains devices will not relay their signal.
The signal travels in straight lines; it does not bend or bounce. When choosing where to place a Smart Plug, think about how thick the walls are that the signal must pass through to get back to the Genius Hub. Thick stone or concrete walls can be difficult for the signal to get through, so it may be better to use a different socket, giving a longer route through thinner walls.
Smart Plugs used to boost the signal are usually placed in one of 2 ways:
-
In properties with a large footprint, Smart Plugs are often placed upstairs, as the walls are generally thinner upstairs and the signal passes through floors easily.
-
In tall, narrow properties, Smart Plugs are often placed centrally on each floor.
For more information, see: https://www.geniushub.co.uk/signal-boosting
Do not plug anything into a Smart Plug that needs to stay on all the time, such as a fridge or freezer. A Smart Plug may briefly turn off, for example during a software update or if it loses its connection, which would also turn off anything plugged into it.
Installing the Plug Locking Cover
The Plug Locking Cover is used in HMOs and commercial buildings as a tamper-proof option for Smart Plugs. It fits both the single-band (PH-PLG-D) and dual-band (PH-PLG-E) Smart Plug.
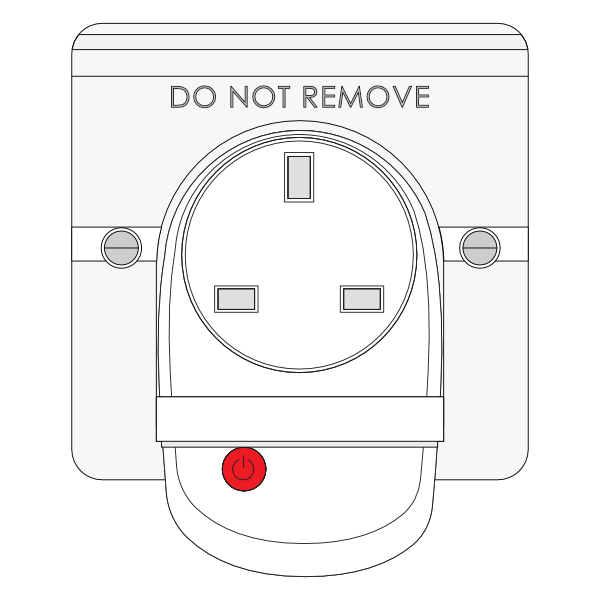
There are 2 ways to install the Plug Locking Cover:
-
(Preferred) If the Smart Plug is being installed into a 1-gang, unswitched socket:
-
See the list of compatible single sockets: www.geniushub.co.uk/plug-sockets
-
Unscrew the screws holding the socket into the pattress.
-
Plug in the Smart Plug and fit the Plug Locking Cover around it, lining up the Plug Locking Cover's screw holes with the socket's screw holes.
-
Refit the screws through both the Plug Locking Cover and the socket. The Smart Plug can now only be removed by unscrewing these screws.
-
-
If you are using a 2-gang or switched socket, its screw holes will probably not line up with the Plug Locking Cover, as there is no standard placement for these. Instead:
-
Plug the Smart Plug into the socket.
-
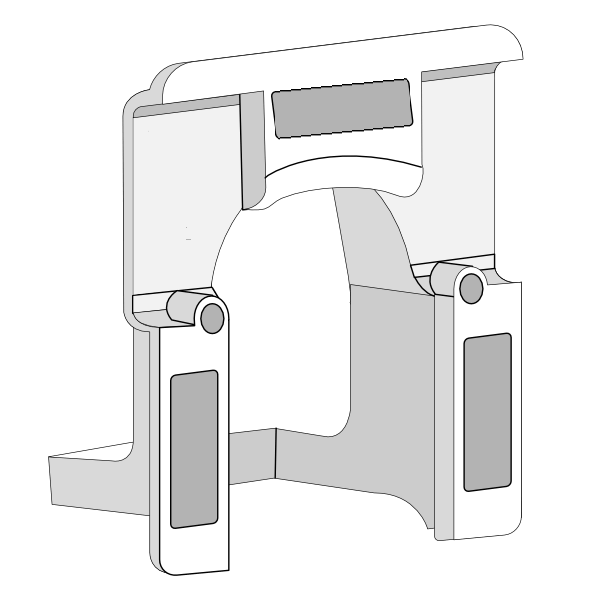
Fix up to 3 of the adhesive pads provided onto the flat sections highlighted in grey in the image above, then remove the paper covers from the exposed side.
-
Carefully line up the Plug Locking Cover on the Smart Plug, and push it firmly onto the socket.
-