
To create a reliable wireless mesh network in a building, Range Extenders are used to repeat the signal from battery-powered devices so they can communicate with the Genius Hub.
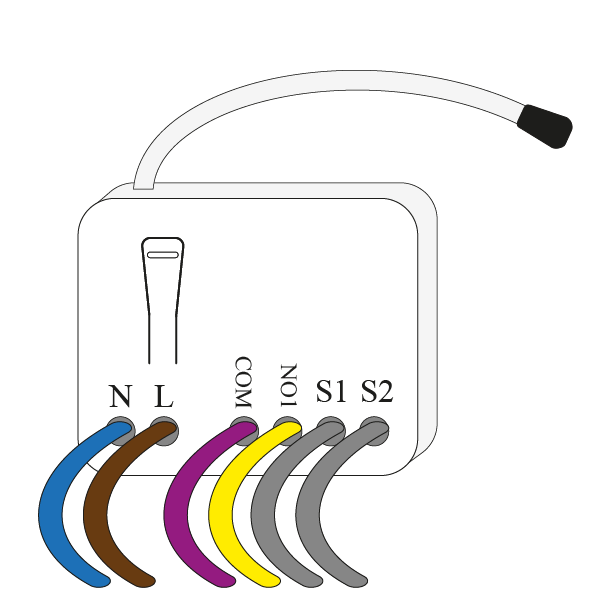
Range Extenders relay the 868MHz network only. They do not relay the signal for Wireless Radiator Valves (DA-WRV-E), which are only relayed by the dual-band Smart Plug (PH-PLG-E). See Chapter 7: Installing the Smart Plugs.
Preparing the Range Extender (Electric Relay, PH-ERS-A)
You will need:
-
1 x Electric Relay (PH-ERS-A)
-
1 x 40mm deep, surface-mounted single-gang pattress
-
If flush mounting, never use a metal backbox, as this will block the Range Extender's signal.
-
-
1 x 3A unswitched fused spur with neon
The Range Extender is wired into the 'load' terminals of an unswitched fused spur with neon, fitted with a 3A fuse.
Do not attempt to wire in the Electric Relay unless you are 100% sure you know what you are doing. Danger of electric shock! All wiring must conform to BS 7671 (IET Wiring Regulations, current edition). The wiring for the wall socket must be electrically isolated before you start work on wiring the Range Extender.
Installing the Electric Relay
The signal travels in straight lines; it does not bend or bounce. The devices that relay the 868MHz signal are Electric Switches, Powered Room Thermostats, Smart Plugs, Electric Relays and receiver units. When choosing where to fit a Range Extender, think about how thick the walls are that the signal must pass through to get back to the Genius Hub. Thick stone or concrete walls can be difficult for the signal to get through, so it may be better to choose a socket that gives a longer route through thinner walls.
Fitting the Range Extender on an internal stud wall is better than on an external wall. In buildings where the signal is difficult, consider running a new supply in the loft above the rooms, so Range Extenders can be placed there.
The Range Extender is fitted inside a plastic pattress, which is easiest to place next to an existing socket.
-
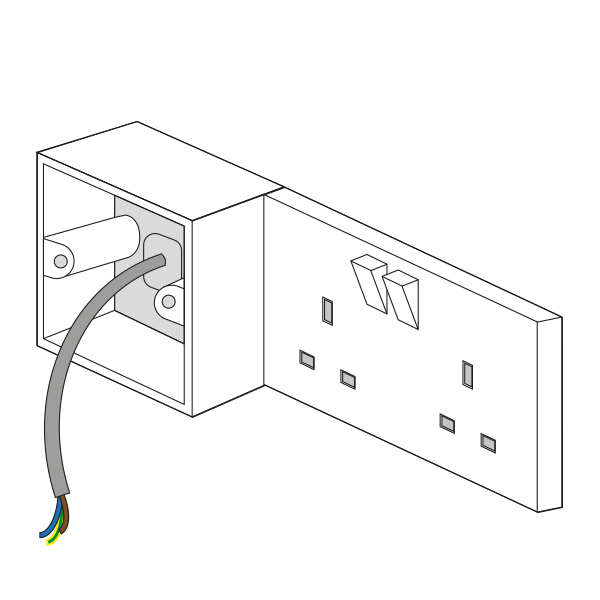
Remove the existing socket from the wall and pre-drill the holes for the single-gang pattress.
-
Fit the single-gang pattress next to the wall socket.
-
Run twin and earth cable between the wall socket backbox and the single-gang pattress.
-
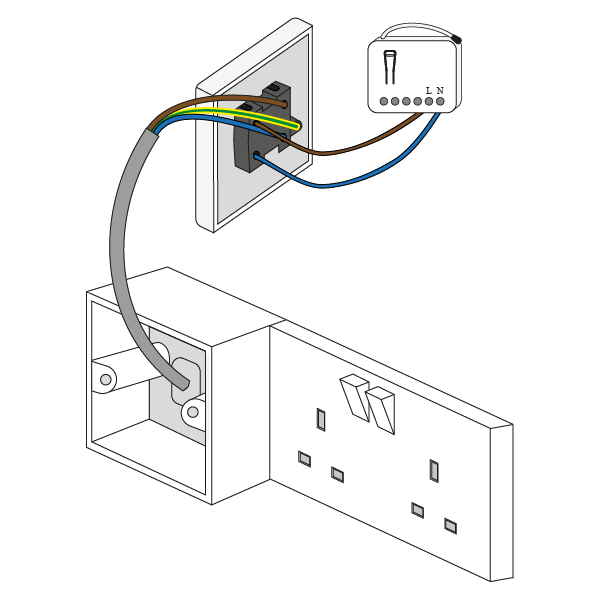
Make off the connection behind the wall socket and refit the socket.
-
Wire the new fused spur to the twin and earth taken from the existing socket.
-
Wire the Electric Relay to the fused spur's load terminals, and place the Electric Relay in the pattress behind the fused spur. Make sure the cables are not wrapped around the Range Extender or its aerial.
-
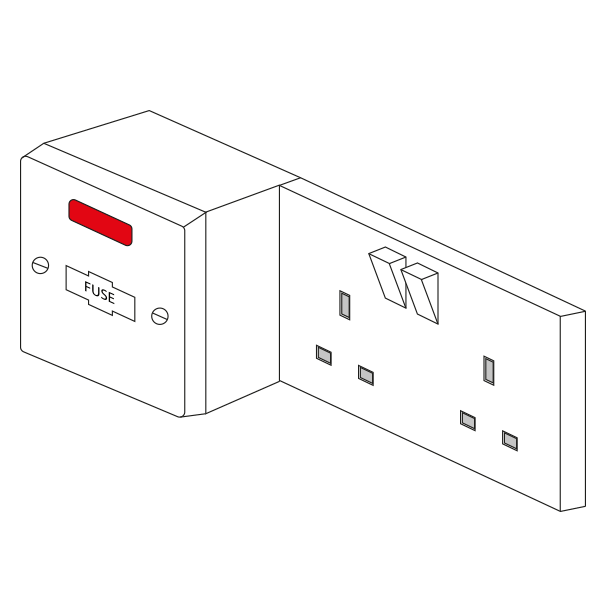
Making sure there are no trapped wires, fit the fused spur using standard pattress screws. Check the unit is securely and safely attached to the wall, and that the neon light is on when powered.
-
Use appropriate wiring in accordance with BS 7671 (current edition).
-
For the best wireless communication, fit the Range Extender above floor level, and at least 30cm away from metal objects and appliances such as: boiler, hot water tank, microwave oven, cooker, fridge/freezer, stainless steel sink, TV, set-top box (satellite/cable/Freeview), radio, printer, photocopier or computer (desktop/laptop/tablet).
-
Do not fit the Range Extender within 100cm of RF devices, such as cordless phones, mobile phone signal boosters, Wi-Fi signal boosters or Wi-Fi routers. If communication problems occur, you may need to move it.
-
Do not leave a mobile phone resting on, or right next to, the Range Extender.