
The Genius system can control a wide variety of electric heating, from electric towel rails and infrared panels to wall-mounted convection heaters.
General Information
Device ratings:
-
Electric Relay: 10A maximum.
-
Electric Switch: 13A maximum.
-
Smart Plug: 13A (3kW) maximum.
-
Powered Room Thermostat: 16A maximum.
A device must not control a heater, or a group of heaters, whose total load is above its rating.
Standard wiring diagrams are provided with the system. To download a copy of the wiring diagrams, visit: https://www.geniushub.co.uk/wiring
Use appropriate wiring in accordance with BS 7671 (current edition).
Do not attempt to wire in any device unless you are 100% sure you know what you are doing. Danger of electric shock! All wiring must conform to BS 7671 (IET Wiring Regulations, current edition). The electric heater and the wiring for the controls must be electrically isolated before you start work.
The Electric Switch, Electric Relay and Smart Plug must not be used to directly control electric underfloor heating. Doing so may damage the device, the underfloor heating or the floor itself. To control electric underfloor heating, use the Powered Room Thermostat, as described in Chapter 5: Installing the Underfloor Receiver Units.
If the electric heating is also being controlled using a Room Sensor or Wireless Room Thermostat, set any controls on the heater to constant and to the highest temperature, so that the heater's built-in controls do not conflict with the Genius Hub system.
If the electric heating is only being controlled by an Electric Switch, Electric Relay or Smart Plug (i.e. on/off control, not temperature control from the app), disable any timer functions on the heater but leave its temperature settings enabled.
All devices that control the heating in individual rooms and are purchased as part of a system direct from Genius Hub, such as Electric Switches, Wireless Radiator Valves or Room Sensors, are labelled with the room they control and are pre-linked to zones in the app.
Wired-in Electric Heating (Electric Switch)
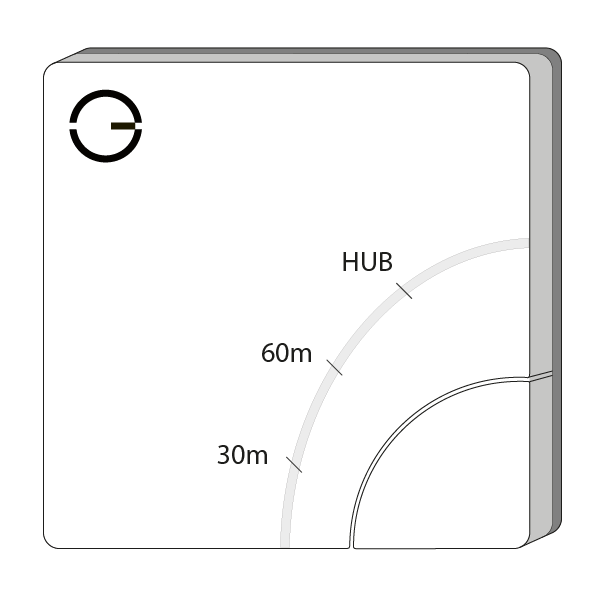
Many electric heaters are wired into an unswitched fused spur for electrical safety. These can be controlled by the Genius Hub system by fitting the Electric Switch between the unswitched fused spur and the electric heater.
-
Always make sure the electric heater and the wiring for the Electric Switch are electrically isolated before you start work on any wiring.
-
Break out the relevant section of a 1-gang pattress for the wiring and fix the pattress to the wall. We recommend a 40mm pattress.
-
Pull through the relevant wiring, leaving plenty of spare.
-
Wire in the Electric Switch as shown in the wiring diagrams provided, checking this against the electric heater's installation manual.
-
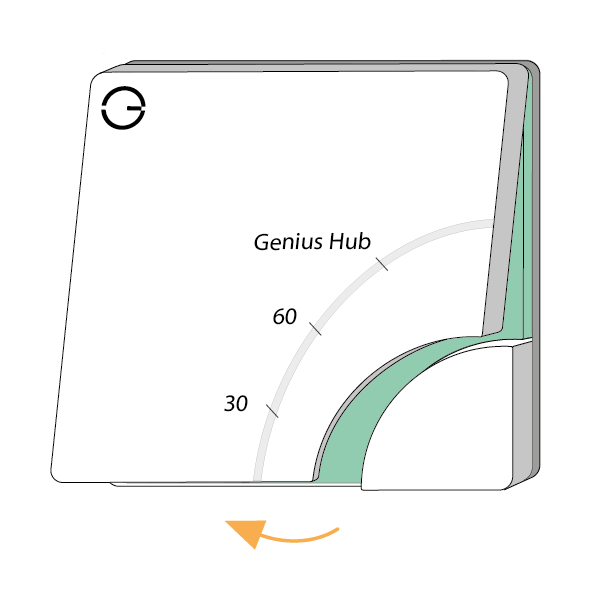
Remove the front cover of the Electric Switch to expose the screw holes. To remove the cover, lever a flat-bladed screwdriver into the gap underneath the Electric Switch.
-
Fit the Electric Switch into the pattress, making sure there are no trapped wires. Screw it in using standard pattress screws, and check the unit is securely and safely attached to the wall. Reattach the front cover, starting at the top.
In normal operation there are no lights when the unit is not heating, and a red light next to 'HUB' when it is heating.
Wired-in Electric Heating (Electric Relay)
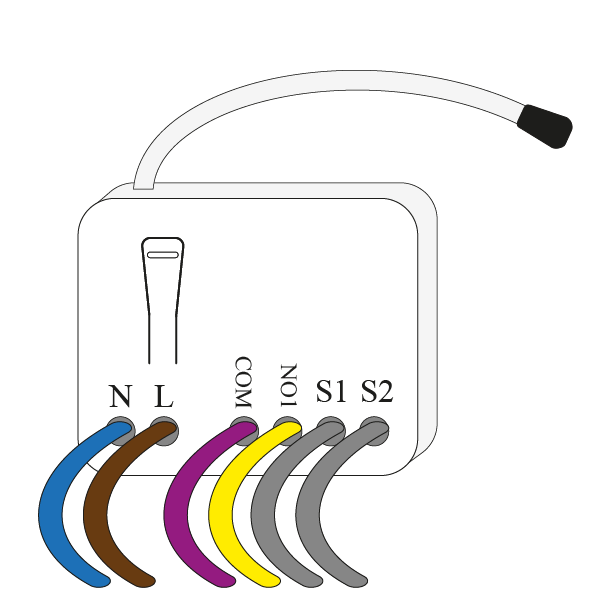
Many electric heaters are wired into an unswitched fused spur for electrical safety. These can be controlled by the Genius Hub system by fitting the Electric Relay between the unswitched fused spur and the electric heater.
-
Always make sure the electric heater and the wiring for the Electric Relay are electrically isolated before you start work on any wiring.
-
Break out the relevant section of a 1-gang pattress for the wiring and fix the pattress to the wall. We recommend a 40mm pattress.
-
Pull through the relevant wiring, leaving plenty of spare.
-
Wire in the Electric Relay as shown in the wiring diagrams provided, checking this against the electric heater's installation manual.
-
Fit the Electric Relay into the pattress, making sure there are no trapped wires, then fit the blanking plate to the front of the pattress. Screw it in using standard pattress screws, and check the unit is securely and safely attached to the wall.
In normal operation a red light shows behind the button on the Electric Relay when it is heating. You will need to remove the blanking plate to see it.
Wired-in Electric Heating (Powered Room Thermostat)
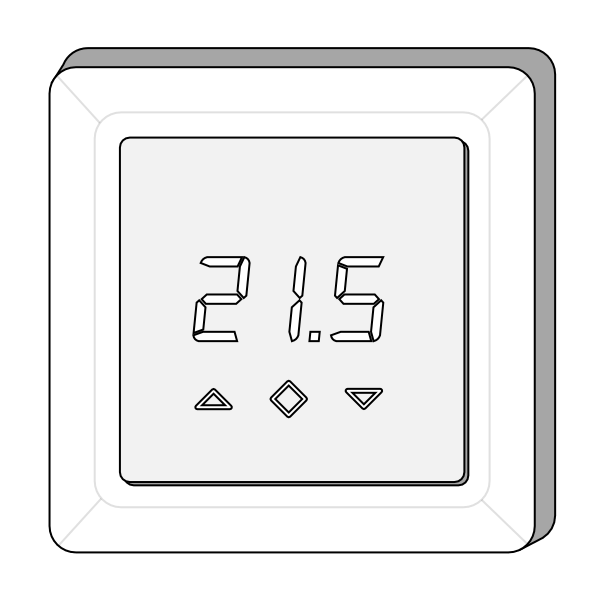
Many electric heaters are wired into an unswitched fused spur for electrical safety. These can be controlled by the Genius Hub system by fitting the Powered Room Thermostat (PRT) between the unswitched fused spur and the electric heater.
-
Always make sure the electric heater and the wiring for the Powered Room Thermostat are electrically isolated before you start work on any wiring.
-
The Powered Room Thermostat fits into a standard 1-gang pattress; we recommend one approximately 40mm deep.
-
If you are using a flush-mount pattress, it should screw in without any problems.
-
If you are using a surface-mount pattress, you may need to use the 2 spacers provided to bring the Powered Room Thermostat closer to the edge of the pattress.
-
-
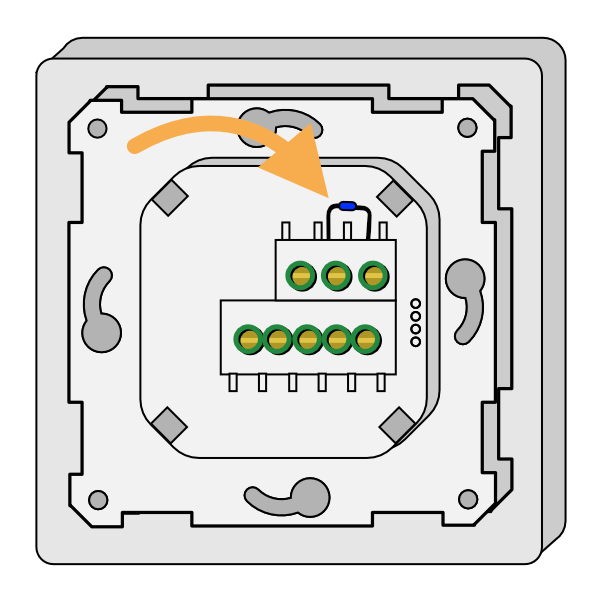
Wire the 10kΩ resistor into the 'Floor Sensor' terminals.
-
Install the pattress in the room the Powered Room Thermostat will control.
-
Wire the mains power and the heating load to the Powered Room Thermostat.
-
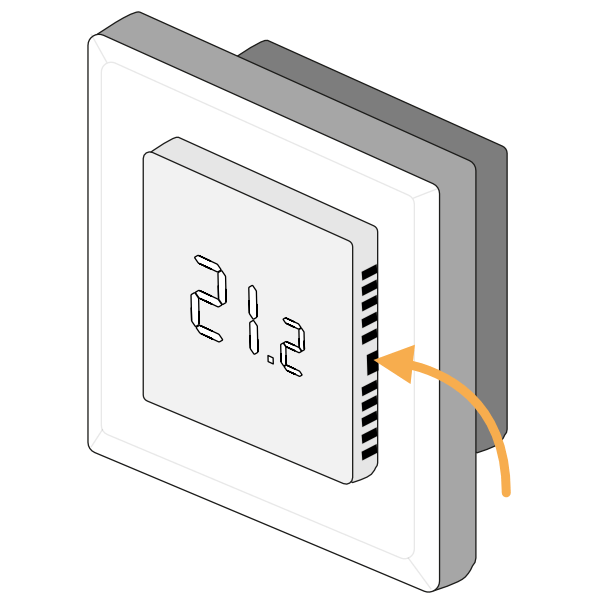
To screw the Powered Room Thermostat to the pattress, first remove the screen: push a small flat-bladed screwdriver into the flat gap on each side of the screen. This releases the 2 spring clamps, and the screen and frame will come loose.
-
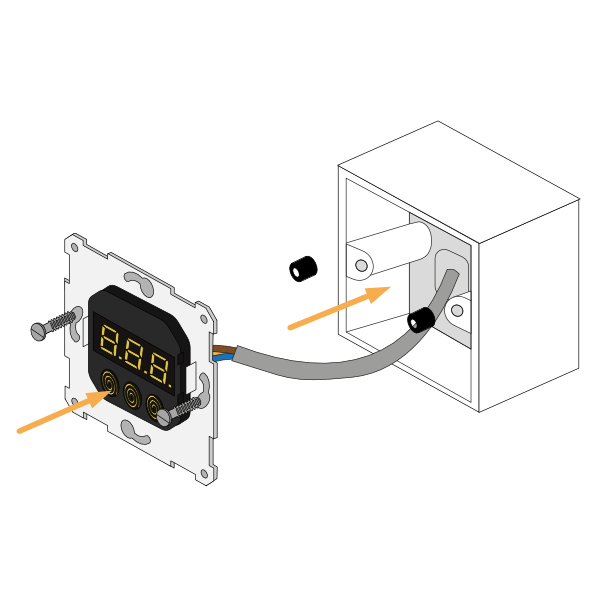
Screw the Powered Room Thermostat to the pattress. Thanks to the cutouts at the sides, you can either screw it directly to the pattress, or part-screw the screws in first, place the Powered Room Thermostat over the screw heads and rotate it into place.
-
If using a surface-mount pattress, place the spacers between the device and the pattress (see step 2.b).
-
-
Place the frame on the Powered Room Thermostat and push the screen into place to secure both parts to the main unit, with the logo at the bottom-left of the screen.
In normal operation there are no lights when the unit is off (the temperature is still shown on the screen), and one red light at the bottom-right of the display when it is heating.
Plug-in Electric Heating
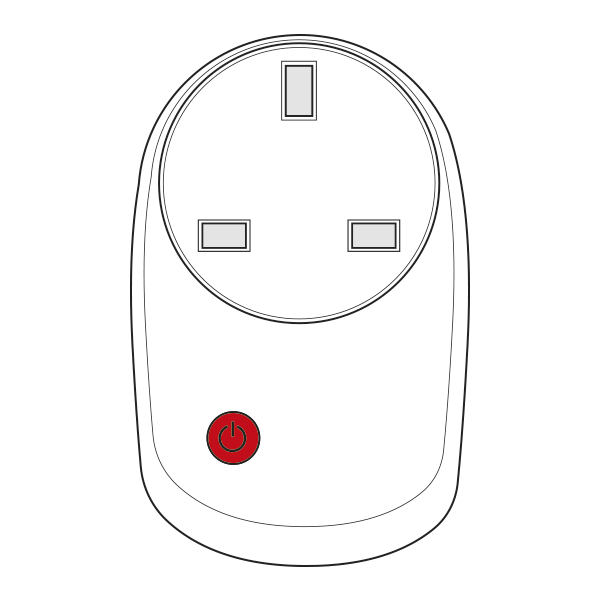
Smart Plugs have 2 purposes. They can be controlled from the app to switch whatever is plugged into them on a schedule, like any other zone; and they boost the wireless signal around the property, improving the reliability of the system and the battery life of other devices. For more information on signal boosting, including which Smart Plugs relay for Wireless Radiator Valves (DA-WRV-E), see Chapter 7: Installing the Smart Plugs.
Plug-in heaters that are to be controlled by the Genius system should be plugged into a Smart Plug, which switches the heater on and off. Each Smart Plug can control up to 13A (3kW) of heating.
Plug the Smart Plug into a nearby socket, then plug the heater into the Smart Plug.