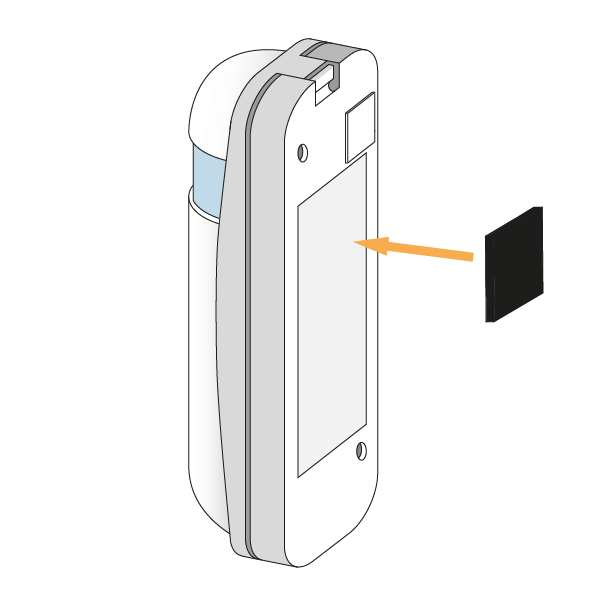
The Wireless Room Sensors (PH-WRS-B) report a more accurate temperature to the app, as they are installed at chest height and away from heat sources. They also detect motion, giving access to Sense and Footprint Mode for each zone.
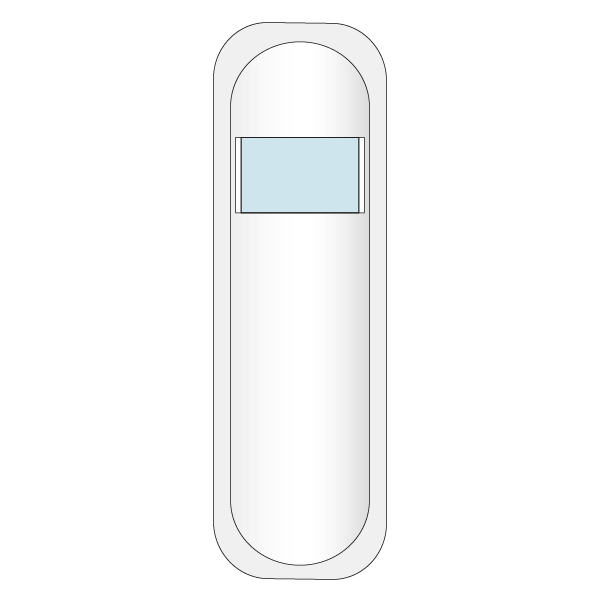
If the Room Sensors were purchased as part of a system direct from Genius Hub, each one is labelled with the room it controls and is already linked to that zone in the app. Install each sensor in the room shown on its label.
The golden rules for positioning a Wireless Room Sensor are:
-
Internal wall – so the sensor does not under-read from being on a cold surface.
-
Out of direct sunlight – consider whether the sensor would be in direct sunlight when the sun shines through the window, as this would affect the temperature it reports.
-
Chest height – position it about 1.5m from the floor for the best view of the room and an accurate temperature (not the temperature near the ceiling). The field of view is 175° left to right and 40° up and down, with a detection range of 10m directly in front and 8m at ±45°.
-
Facing the occupants of the room – in rooms where people sit (e.g. lounges, bedrooms and offices), make sure the sensor faces the front of the occupants so it can see any movement in the room.
Often the best position for a Room Sensor is on an internal wall, next to a light switch.
-
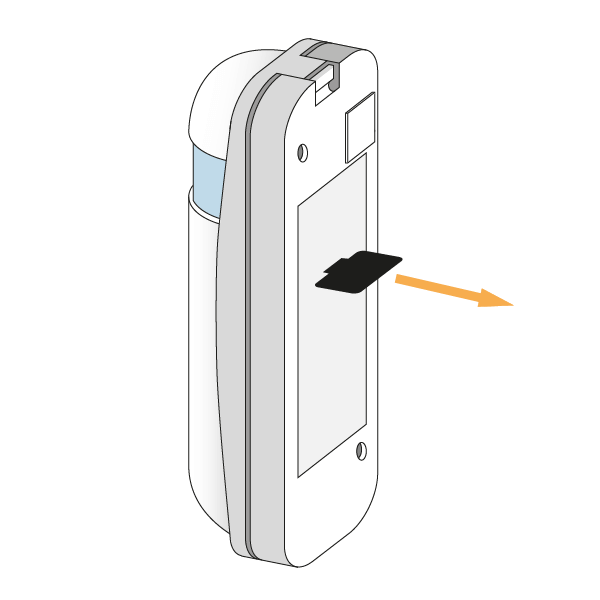
Remove the battery tab from the back of the Room Sensor (it takes a CR123 battery). Lightly tap the end of the Room Sensor on a hard surface to make sure the battery is correctly seated against the contacts inside.
-
For the first two weeks, fix the Room Sensor to the wall temporarily using the thick black sticky pad. Once the customer is happy with the position, they can use the long, thin sticky pads provided to stick it to the wall, or fix it with the screws provided.