The following explains how to add a new Powered Room Thermostat to a Genius Hub.
If you have an existing Powered Room Thermostat it will need to be excluded from any other network before it is connected to a Genius Hub.
- As a new device, you will need to use the latest app and hub software (5.3.8 or above) to be able to add the Powered Room Thermostat.
- For the trial, the Powered Room Thermostat requires a floor temperature probe to be wired in for it to work (otherwise an error message shows on screen and the device will not work correctly). If you do not want to use a floor temperature probe, install the link provided in the box.
To install the Powered Room Thermostat:
Do not attempt to wire in your Powered Room Thermostat if you are not 100% sure that you know what you are doing. Danger of electric shock! All wiring should conform to IEE regulations. The boiler, underfloor heating and wiring for the Powered Room Thermostat must be electrically isolated before you commence work on wiring the Powered Room Thermostat!
- The Powered Room Thermostat fits into a standard a-gang pattress, we recommend approximately 40mm deep.
- If you are using a flush mount pattress it should screw in without any problems.
- If you are using a surface mount pattress, you may need to use the 2 spacers to bring the Powered Room Thermostat closer to the edge of the pattress.
- Wire in the temperature probe or link into the 'Floor Sensor' terminals.
- Install the pattress into the room the Powered Room Thermostat is going to control.
- If using the floor probe, consider how this is going to get out of the pattress and it is going to be installed into the floor layer/onto the pipework of the wet underfloor.
- Wire in the mains power and the heating load to the Powered Room Thermostat.
- To screw the Powered Room Thermostat to the pattress, first remove the screen by pushing a small flat-bladed screwdriver into the flat gap on each side of the screen. This will release the 2 spring clamps, and the screen and frame will become loose.
- Screw the Powered Room Thermostat to the pattress. Due to the cutouts to the side of the screen of the PRT, it can either be screwed directly to the pattress, or the screws can be mostly screwed in first and the Powered Room Thermostat placed over the screwheads and rotated.
- See 1.b if using a surface mount pattress.
- Place the frame on the Powered Room Thermostat and push the screen in place to secure the two parts to the main unit.
- It can now be powered on.
Standard wiring diagrams are provided with the system. To download a copy of the wiring diagrams, visit: https://www.geniushub.co.uk/wiring
To include a new device onto your system:
- On the app, go to the doctor and select 'Powered Room Thermostat', then say 'Yes' it is being added for the first time.
- Proceed through the when the app tells you the Genius Hub is ready and you need to include the device.
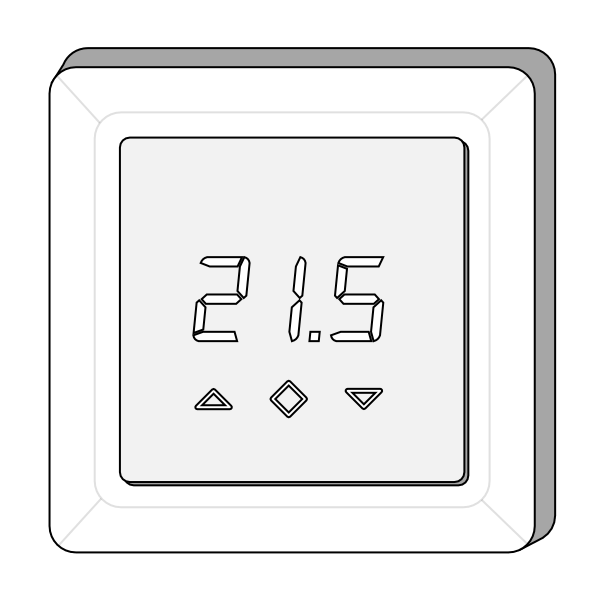
- Press and hold the centre button until "OFF" is shown on the display.
- Press the down button repeatedly until you reach "CON".
- Press and hold until the middle button until display shows a rotating light pattern.
- The thermostat will display "INC" when the thermostat is successfully added.
- If adding/removing fails, Err (error) will appear. If this does appear, go back to step 1 and try again.