The following explains how to re-add an existing Room Sensor to a Genius Hub.
If you have an existing Room Sensor it will need to be factory reset before it is connected to a Genius Hub.
Make sure that the Room Sensor is within 2 meters (line of sight) of the Genius Hub (the part that is connected to your internet router). You may need to move the Genius Hub closer to the Room Sensor, the hub needs to be both plugged into the power and also the internet (see this link for how to connect the hub with a power-line ethernet adapter), you can also move the Room Sensor next to the Genius Hub if it is impossible to move the Genius Hub.
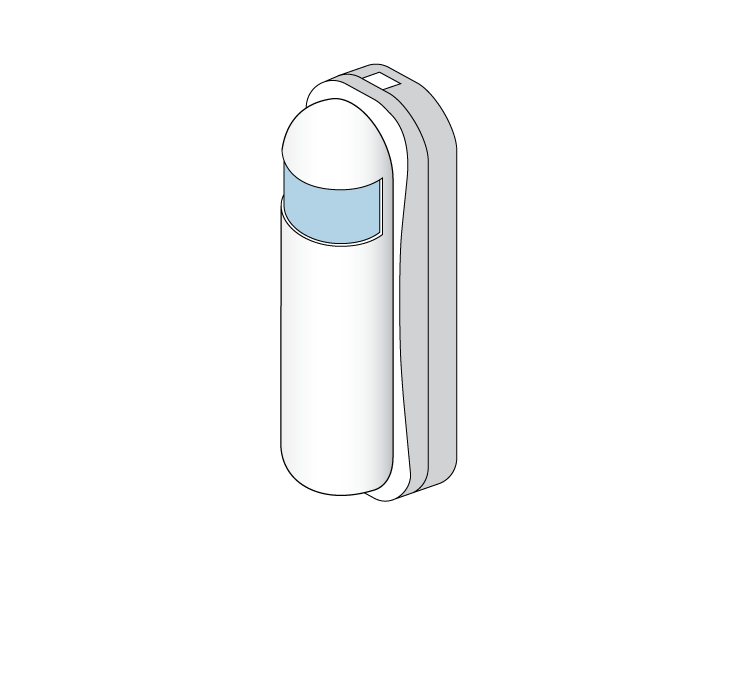
Remove the front cover of the Wireless Room Sensor by placing a tool (such as a flat-bladed screwdriver) into the top of the sensor until you hear a click. This will release the catch.
Use your nails to pull the white (front) of the room sensor away from the clear (back) and allow the cover to swing down (be careful not to pull the sensor off the wall).
The front is hinged at the bottom.
Ensure there is a new battery in the Room Sensor and it is correctly oriented.
Now the hub needs to get ready to add the device.
On the app tap on Menu, then Settings and then Devices. Now tap on 'Include device' and follow the prompts on the app.Press the little black button 3 times in exactly 1.5 seconds.
The red light will flash every second for 30 seconds or until added to the system.
To return the cover click it in at the bottom of the device and allow it to hinge up until there is a click as the top locks the cover in place.
On success, the Room Sensor has been assigned a number, write this number on the side of the device.
The success or failure of the inclusion will be displayed on the app.*** Verification Test to ensure new node ID & hash = WRS hash ***
Attach the Room Sensor to a wall in the room that you want to control if controlling an individual zone. See tips later of locating the Room Sensor correctly.
Assign the Wireless Room Sensor to a zone. See Chapter 13 of the Manual for information on assigning your device/channel to a zone.*** Assign device to zone ***
Now the old Electric Switch needs to be removed from the list of devices as this no longer exists.
Remove the old Electric Switch from the system. See Chapter 10 of the Manual for information on removing the dead node.*** Remove the dead node, using the node ID passed through from the start of the wizard if possible ***
Do not unplug the Genius Hub for at least 30 minutes so the hub has time to save the new settings.
Tips for locating the Room Sensor correctly:
Select the thick, black (temporary) sticky pad, or thin white (permanent) sticky pad and attach it to the back of the Room Sensor.
• At chest height (so it measures the correct temperature and picks up the best occupancy).
•• The vision of the room sensor is 170º left to right and 40º up and down, but it is most sensitive in the middle 90º, so make sure it can see you.
• On an internal wall (so it measures the correct temperature and is not affected by being on a cold surface).
•• Use the temporary pads permanently if this is an issue as it raises the sensor away from the wall slightly.
• Not next to any direct sources of heat (so that it measures the temperature of the zone and is not affected immediately by a heat source in the room).
• Not pointing at a direct source of heating or a window (this will affect the detection sensitivity of the sensor or will cause false triggers from people outside the window).
In rooms where people are sat or still make sure that the sensor is close to the areas where people are seated.