...
| Troubleshooting step |
|---|
Make sure that the Room Sensor is within 2 meters (line of sight) of the Genius Hub (the part that is connected to your Internet router). If the devices are not close enough together, then use the following steps: 1. Carefully remove the Room Sensor from the wall and take it to the Genius Hub. 2. Move the Genius Hub closer to the Room Sensor. The Genius Hub must have power and an Internet connection. This can be done by: a) Using a long Ethernet cable b) Plugging the Hub into a different Ethernet switch c) Using a Power Line Ethernet adaptor or WiFi booster which has an Ethernet port (see this link for how to connect the hub with a power-line Ethernet adaptor) |
| Troubleshooting step |
|---|
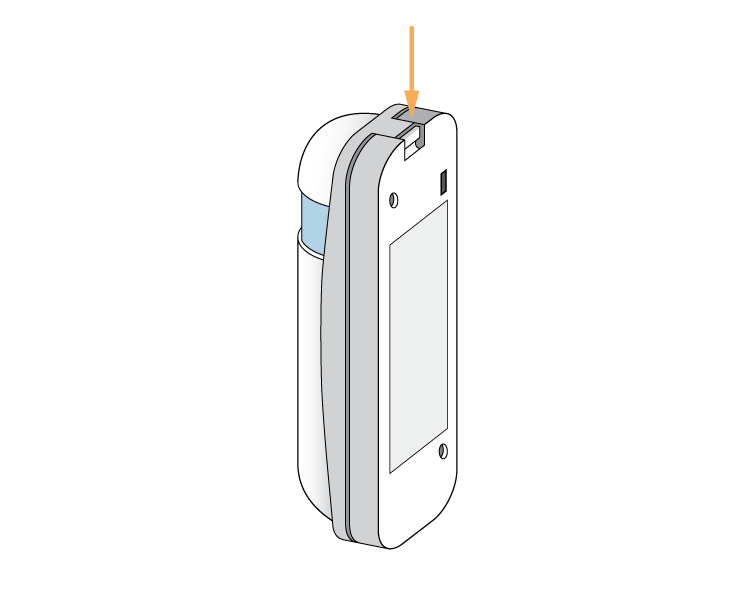
Remove the front cover of the Wireless Room Sensor by placing a tool (such as a flat-bladed screwdriver) into the top of the sensor until you hear a click. This will release the catch. Pull the white (front) of the room sensor away from the clear (back) and allow the cover to swing down (be careful not to pull the sensor off the wall). The front is hinged at the bottom.
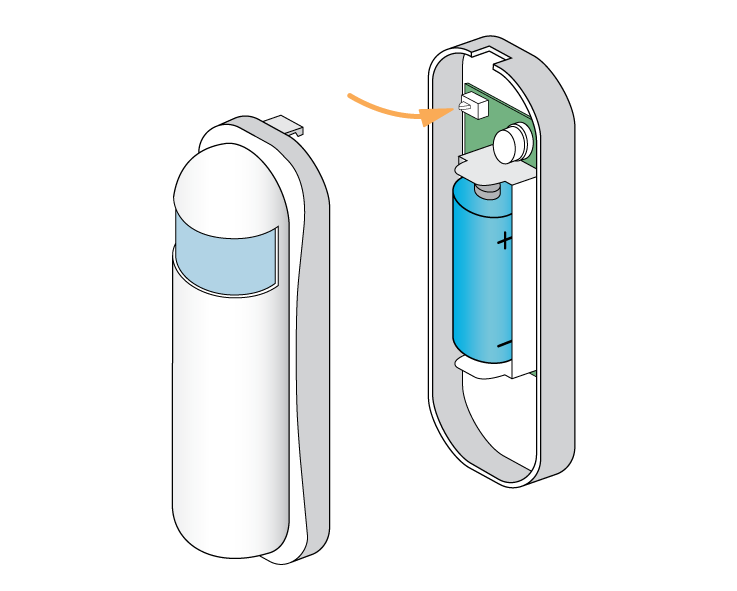
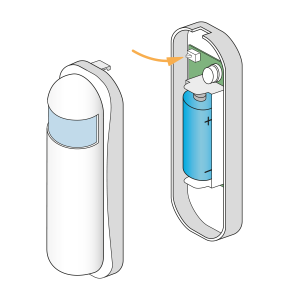
Ensure there is a working battery in the Room Sensor and it is correctly oriented.
|

| Troubleshooting step | |||||||||
|---|---|---|---|---|---|---|---|---|---|
Now the Genius Hub needs to get ready to add the device.
|
...
| Troubleshooting step | |||||||||||
|---|---|---|---|---|---|---|---|---|---|---|---|
Press the little black button 3 times within 1.5 seconds. The red light will flash every second for 30 seconds or until added to the system.
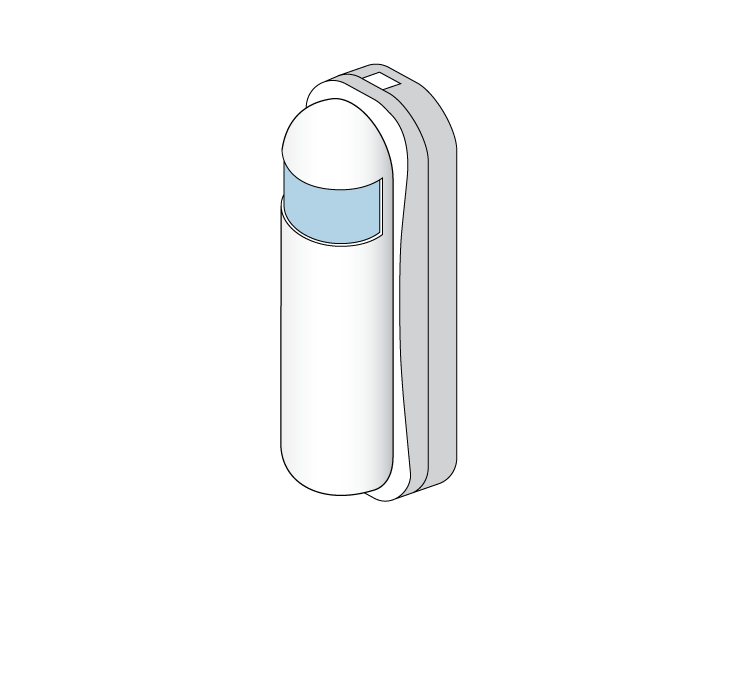
To return the cover click it in at the bottom of the device and allow it to hinge up until there is a click as the top locks the cover in place. On success, the Room Sensor has been assigned a number, write this number on the side of the device.
|
...
| Troubleshooting step | |||||||||||
|---|---|---|---|---|---|---|---|---|---|---|---|
Now pick a zone to assign the room sensor to and attach the Room Sensor to a wall in the room that you want to control if controlling an individual zone.
|
...
| Troubleshooting step | ||||||||||
|---|---|---|---|---|---|---|---|---|---|---|
|
...
| Troubleshooting step | |||||||||
|---|---|---|---|---|---|---|---|---|---|
|
| Troubleshooting step | |||||||||||
|---|---|---|---|---|---|---|---|---|---|---|---|
Now First locate the Genius Room Sensor which has been re-added Genius Hub. You need to use the original ID number of the device, and not the one which it currently has.
|
| Troubleshooting step | ||||||||||||||
|---|---|---|---|---|---|---|---|---|---|---|---|---|---|---|
First the Genius Hub needs to attempt to communicate with the Genius Room Sensor once more. This is to ensure that the device is a 'dead node' and so is eligible old Room Sensor needs to be removed from the list of devices as this no longer existssystem in this way.
| 7 |
...
|
| Troubleshooting step | |||||||||||
|---|---|---|---|---|---|---|---|---|---|---|---|
Now the device is confirmed as no longer on the system, it can be removed.
|