...
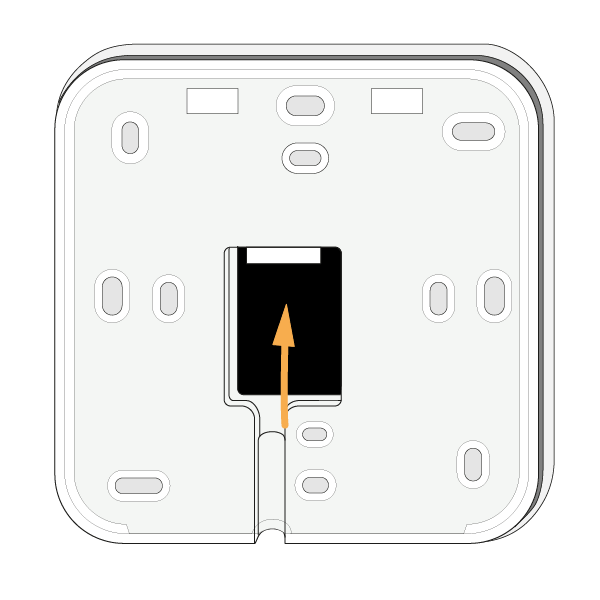
The Genius Hub can be placed flat on a surface, such as a cabinet or mounted on a wall. To mount it onto a wall, first remove the back plate by turning the Genius Hub around so the logo is facing away from you with the cutout for the Ethernet cable (see below) at the bottom. Slide the segmented back plate in the centre of the Genius Hub down, holding the outside of the Genius Hub. Once it has moved approximately 1 cm down, it can be pulled away from the Genius Hub. The back plate can be screwed to the wall with the segmented part facing the wall. Make note of the 8 blue digits for Chapter 2.
Note Before you screw the backplate to the wall, place the Ethernet Cable through the cutout so it is between the backplate and the wall.
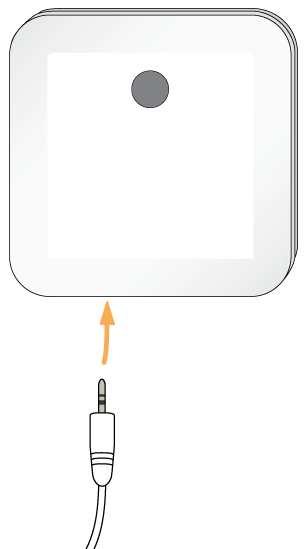
- Connect the Genius Hub to your Internet Router using an Ethernet cable, such as the flat one provided. This fits into the port located in the middle of the rear of the Genius Hub.
Pagebreak - Plug the USB power cable, both to the Genius Hub (until you hear it click) and into the power supply provided, and plug into a wall socket. A green light will appear on the left hand side.
- When the Genius Hub successfully connects to the broadband router, a second regularly flashing green light will appear on the left hand side of the Genius Hub.
...