| Solution id | ||||
|---|---|---|---|---|
|
The following explains how to add a new Genius Radiator Valve (Wireless Radiator Valve) to a Genius Hub.
| Warning |
|---|
If you have an existing Genius Radiator Valve it will need to be factory reset before it is connected to a Genius Hub. |
| Troubleshooting step |
|---|
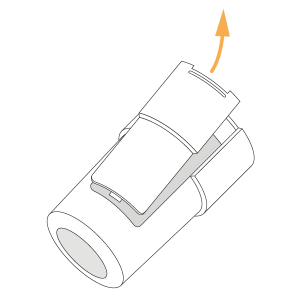
First, take the Genius Radiator Valve to the Genius Hub (the part that is connected to your internet router) so it is within 2 meters of the Genius Hub with nothing in between. Remove the battery cover. Do this by placing a fingernail at the bottom of the battery cover, pulling the catch up (in the direction of the screen) and compressing the slit next to the catch. The battery cover hinges at the screen end of the valve.
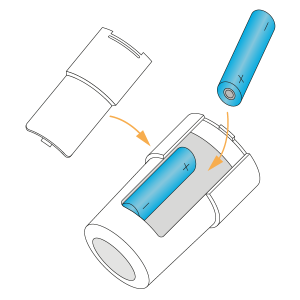
Ensure there are new batteries in the Genius Radiator Valve and they are correctly oriented. Note: both of the springs are at the top of the valve but one battery points up and the other points down.
Replace the battery cover, starting at the top (nearest the screen). |
| Troubleshooting step | |||||||||
|---|---|---|---|---|---|---|---|---|---|
Now the hub needs to get ready to add the device.
|
| Troubleshooting step | |||||||||||
|---|---|---|---|---|---|---|---|---|---|---|---|
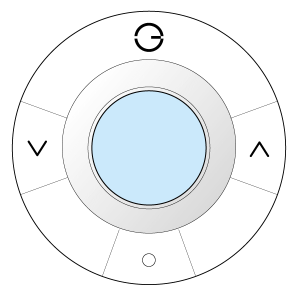
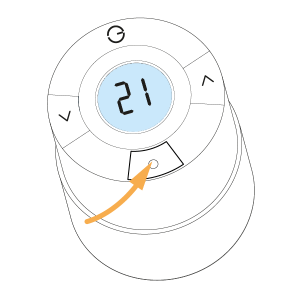
Press and release the middle /o\ button and the screen backlight should quickly flash. The letters or numbers on the screen of the valve are not important at this point.
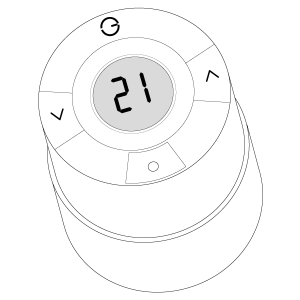
The screen backlight should quickly flash, then slowly flash, then stop flashing when the device has included successfully.
On success, the Genius Radiator Valve has been assigned a number, write this number on the side of the device.
|
| Troubleshooting step | |||||||||||
|---|---|---|---|---|---|---|---|---|---|---|---|
Now pick a zone to assign the Genius Radiator Valve to.
|
| Troubleshooting step | |||||||||
|---|---|---|---|---|---|---|---|---|---|
|
| Troubleshooting step | |||||||||||
|---|---|---|---|---|---|---|---|---|---|---|---|
|
| Troubleshooting step |
|---|
Install the Genius Radiator Valve onto the radiator. • This video shoes how to remove and refit the Genius Valve.
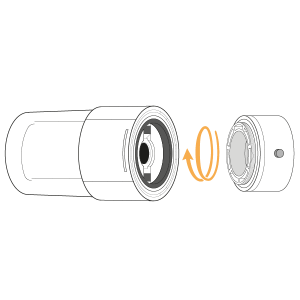
Types of valve adapter: Standard M30 • Screw the short adapter onto the valve body tight (the metal part that the water flows through). • Make sure that the valve has a flashing 'M' on the screen. • Screw the Genius Radiator Valve onto the TRV adaptor tight. • Long press the middle /o\ button until the valve starts to buzz and 'M' stops flashing. 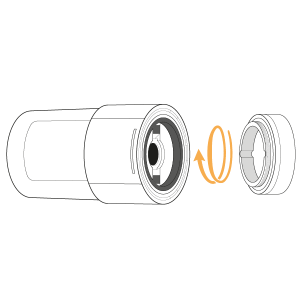 Danfoss RA • Push the tall adapter on the TRV body and use the hex key to tighten the adapter until the adaptor starts to distort slightly. • Make sure that the valve has a flashing 'M' on the screen. • Screw the Genius Radiator Valve onto the TRV adaptor. • Long press the middle /o\ button until the valve starts to buzz and 'M' stops flashing.
|