...
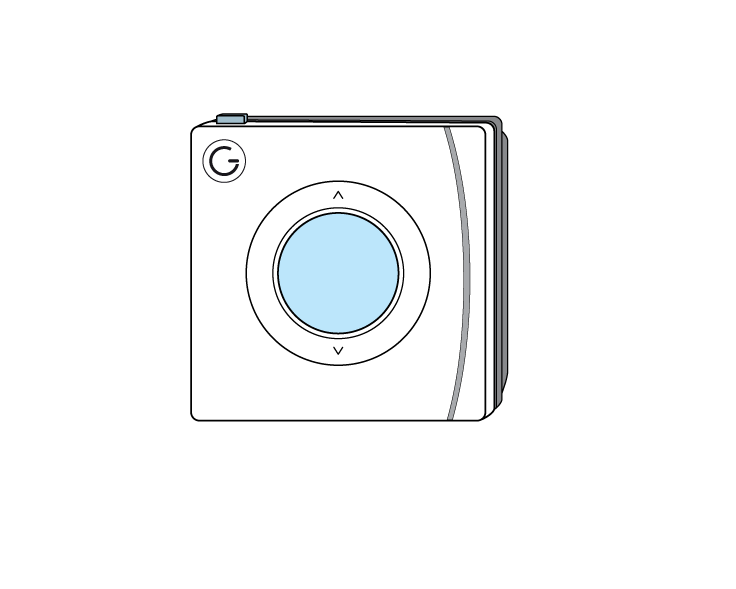
The following explains how to add a new Wireless Room Thermostat to a Genius Hub.
| Warning |
|---|
If you have an existing Room Thermostat it will need to be factory reset before it is connected to a Genius Hub. |
| Troubleshooting step |
|---|
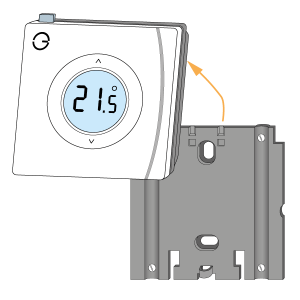
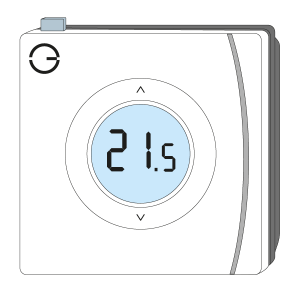
First, remove the Room Thermostat from its backplate. |
...
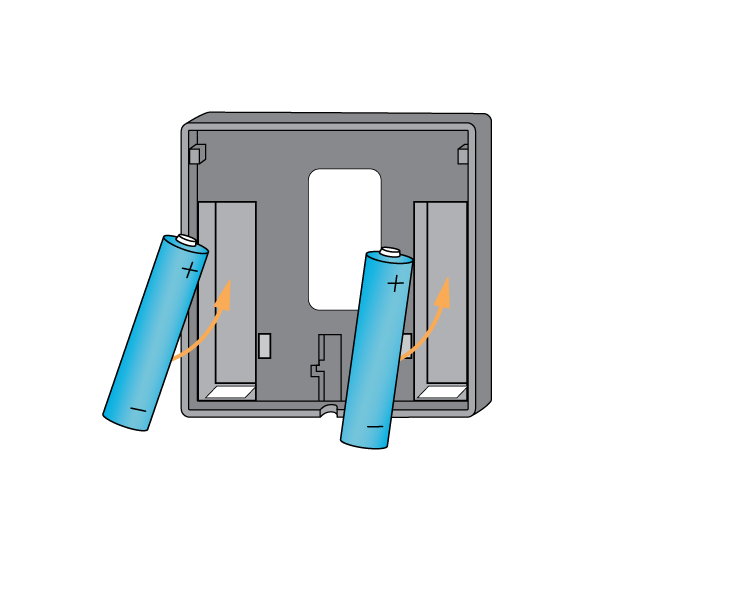
Make sure that the Room Thermostat is within 2 meters (line of sight) of the Genius Hub (the part that is connected to your internet router). Turn the Room Thermostat over, so the screen is facing away from you and pull out the plastic tab to connect the battery, or insert new batteries.
|
| Troubleshooting step | |||||||||
|---|---|---|---|---|---|---|---|---|---|
Now the Genius Hub needs to get ready to add the device.
|
| Troubleshooting step |
|---|
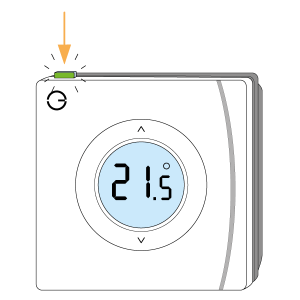
Turn the Room Thermostat back over so the screen is facing you. When the backlight turns off (the screen goes dim), press the top left button and it will quickly flash green and the antenna will appear on the screen. |
...
The green light will stop flashing when the device has included successfully. |
...
On success, the Room Thermostat has been assigned a number, write this number on the side of the device.
|
| Troubleshooting step | |||||||||||
|---|---|---|---|---|---|---|---|---|---|---|---|
Now pick a zone to assign the Room Thermostat to.
|
| Troubleshooting step | |||||||||
|---|---|---|---|---|---|---|---|---|---|
|
| Troubleshooting step | |||||||||||
|---|---|---|---|---|---|---|---|---|---|---|---|
|
| Troubleshooting step |
|---|
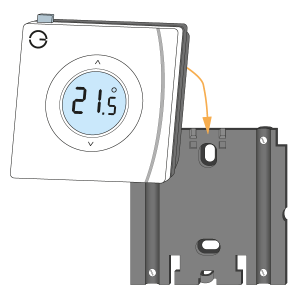
Attach the Room Thermostat to a wall in the coldest room of the house if controlling the main source of heating, or attach it in the room that you want to control if controlling an individual zone. First screw the backplate to the wall in the chosen room. Then fit the Room Thermostat onto the backplate by aligning it and sliding down. Tips for locating the Room Thermostat correctly: • At chest height (so it measures the correct temperature). • On an internal wall (so it measures the correct temperature and is not affected by being on a cold surface). • Not next to any direct sources of heat (so that it measures the temperature of the zone and is not affected immediately by a heat source in the room).
|
...
 |