The Radiator Valves easily replace the majority of existing TRVs to give you the ability to schedule each room independently, without any plumbing being required.
| Info |
|---|
All devices which control the heating in individual rooms and are purchased as part of a system direct from Genius Hub, such as Underfloor Receiver Units, Genius Radiator Valves or Room Sensors, are labelled with the room they control and are pre-linked to zones on the app. |
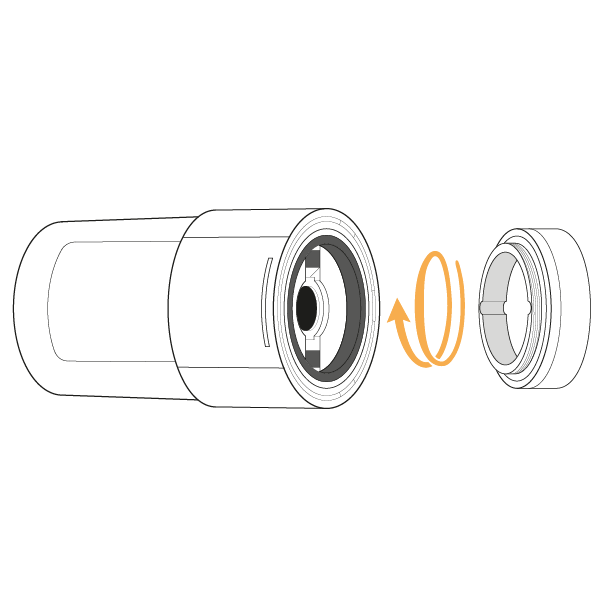
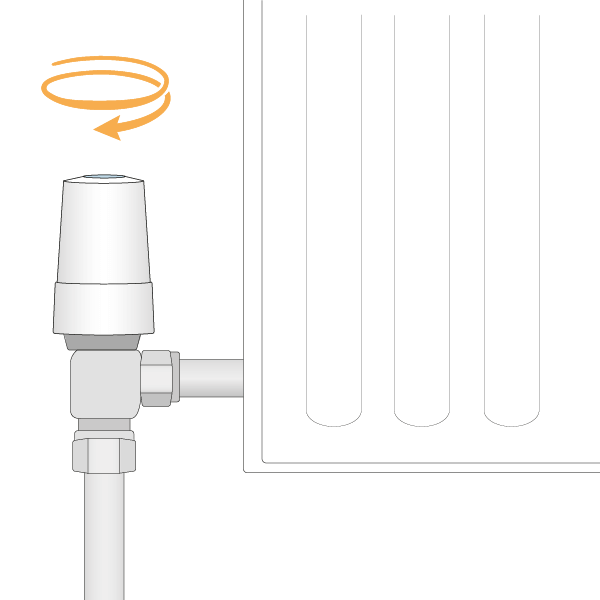
Each Radiator Valve comes with two adaptors. The two adaptors fit the Radiator Valve onto either an M30x1.5mm thread (the UK standard which fits most brands of TRV) or a Danfoss RA fitting (the adaptor with the grub screw). To mount the Radiator Valve:
- Attach the correct adaptor to the base of the Radiator Valve. The image below shows the M30 adaptor being fitted.
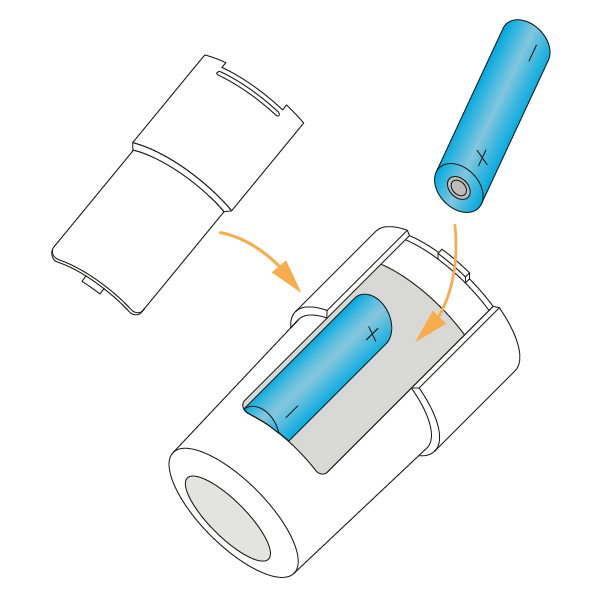
Remove the battery cover by compressing the catch at the bottom of the valve, and hinge the cover up and away from the valve.
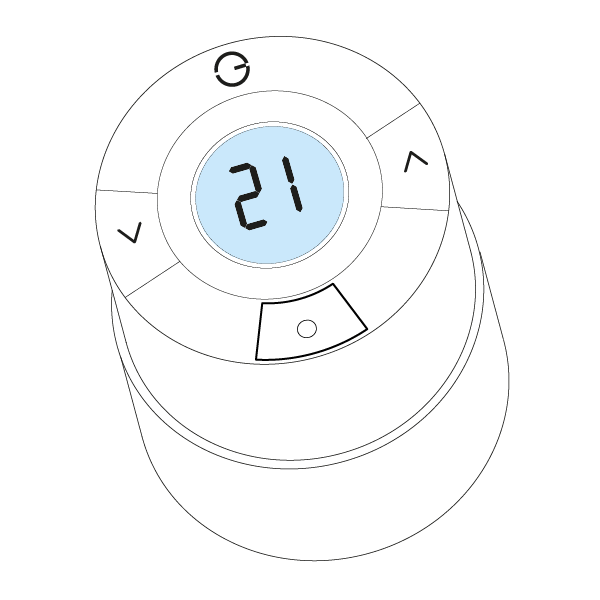
Pagebreak Place 2 x AA batteries in the valve, a temperature should appear on the screen.
Info The batteries should be positioned as per the diagram in the back of the valve, with the batteries facing opposite directions.
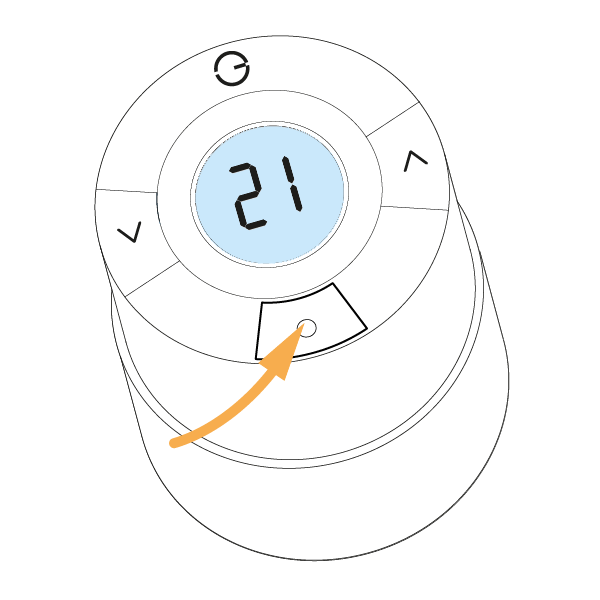
Press and hold the middle button for 3 seconds until an 'M' appears on the screen, then press the middle button once more. The 'M' will begin to flash on the screen, the valve will buzz and the plunger in the underside of the valve will retract. The valve is now in Mount Mode.
Note The Valve must be in mount mode when being attached to the radiator.
- Remove the existing TRV head (this is the part which turns and normally has the number 1-5 on it to regulate the temperature) from the radiator. Usually this requires loosening a nut between the TRV head and the base (the part the water flows through).
Pagebreak Screw the valve down onto the radiator if using the M30 x 1.5mm adaptor, or attach the RA adaptor & valve onto the radiator & tighten up the grub screw.
Info If using the Danfoss RA adapter make sure that the grub screw is done up very tight as the adapters can work loose over time, which stops the Radiator Valve being able to shut off the flow of water to the radiator, causing the radiator to heat up when it is supposed to be off.
Press and hold the middle button for 3 seconds until the valve starts to buzz and a temperature appears on the screen.
Info Sometimes when you press a button on the valve it can take 30 seconds for the screen to react. This is normal as the valve may be communicating with the Genius Hub at the time.